Why the first hour in Japan is the real setup test
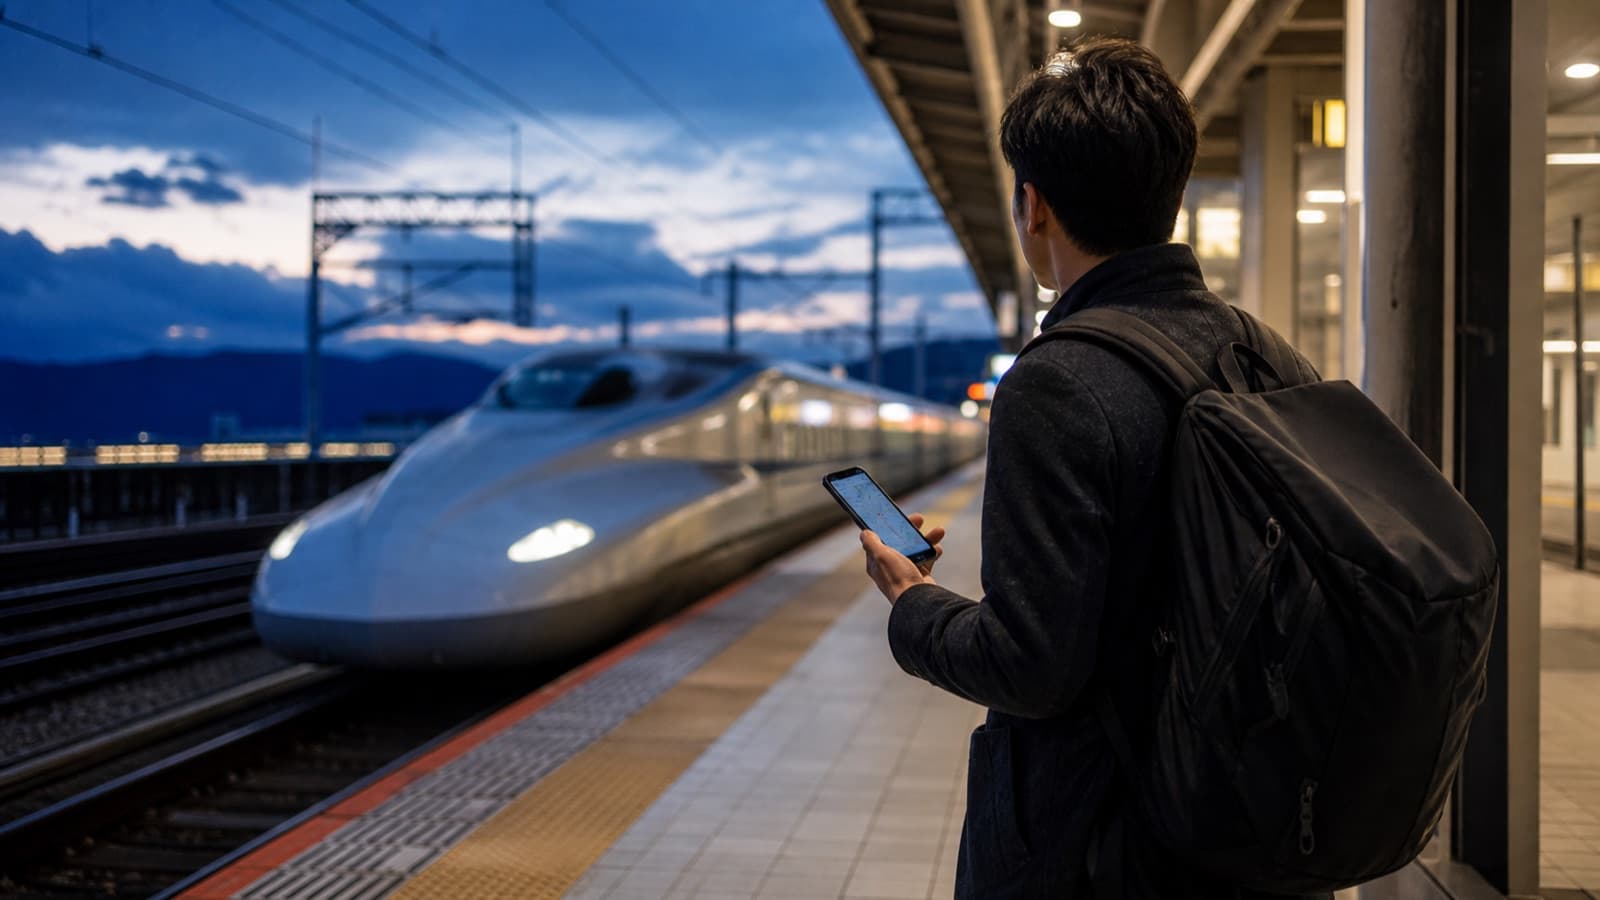
A first arrival in Japan compresses several decisions into a short period. You may need an airport train, an IC-card app, a hotel message, a station map, or translation before you have time to study phone settings. An eSIM is useful because it can be prepared in advance and keep mobile data on the phone you already use. The practical goal is not maximum technical performance; it is a predictable handoff from airplane mode to working maps.
For most first-time visitors, install the profile before departure on stable Wi-Fi when the plan’s activation policy permits it. Save the order email and help instructions offline, label the line “Japan,” and leave the home SIM in place only if you understand its roaming charges. After landing, make the Japan line responsible for mobile data and apply the provider’s data-roaming instruction.
If the device has not been checked yet, use the compatibility checker before buying. A recent model name alone is not enough: carrier locks and regional device variants can change the result.
Choose a Japan plan by itinerary and behavior
Tokyo, Kyoto, Osaka, Hiroshima, ski areas, islands, and rural road trips do not create the same connection pattern. A typical city-and-rail itinerary mainly needs navigation, messaging, translation, restaurant search, bookings, and occasional media sharing. A work trip or family hotspot pattern can need much more.
| Trip pattern | Sensible starting point | Why | Verify |
|---|
| 3–5 city days | Modest fixed-data pack | Predictable essential use | Total allowance and validity |
| 7–14 day rail itinerary | Larger fixed pack or daily allowance | More navigation, bookings, and sharing | Coverage on every stop and activation date |
| Remote work | High allowance or suitable unlimited-style plan | Calls, files, and hotspot can drive use | Fair-use policy and tethering |
| Family members who split up | One plan per compatible phone | Independent maps and messaging | Device compatibility for each traveler |
Do not buy solely because a product says “Japan” and “5G.” Check the plan’s current supported networks, validity, hotspot terms, and fair-use language. Radio technology is affected by device, location, congestion, and partner-network access; it is not a guaranteed trip-wide speed.
Install before the flight
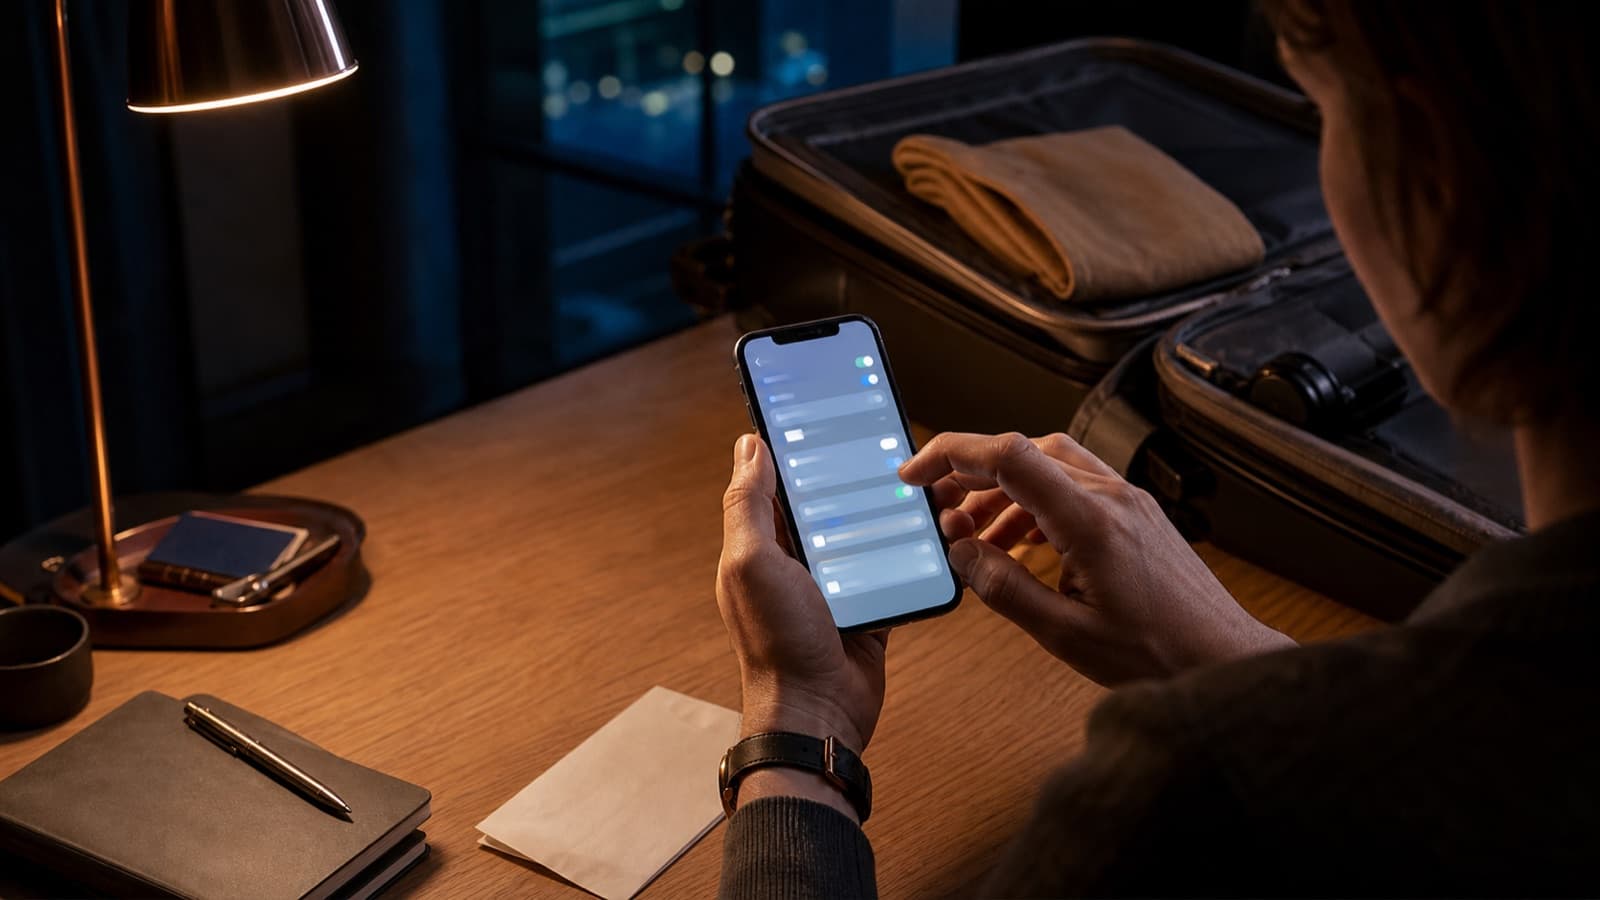
Use private or trusted Wi-Fi and keep the phone charged. Open the provider’s instructions on another screen if possible. On iPhone the process typically begins under Cellular or Mobile Service with Add eSIM; Android labels vary by manufacturer. Follow the plan-specific route instead of improvising from a generic guide.
Name the new line “Japan travel.” Keep it installed, but do not make it the mobile-data line at home. If the provider says validity starts only when the profile first reaches a supported Japanese network, pre-installation is usually appropriate. If the provider says validity begins at installation, wait until the correct window. That one rule deserves more attention than the difference between two similar data allowances.
Save these items offline:
- the QR code or manual activation information;
- the order number and support contact;
- the Access Point Name instructions, if any;
- a screenshot of the intended arrival settings;
- the hotel address and airport transfer details.
Do not delete the profile if installation appears incomplete. Many QR codes are designed for one installation, and deletion can turn a settings issue into a replacement request.
Arrival settings at Narita, Haneda, Kansai, or another airport
After the aircraft reaches the gate, switch off airplane mode and wait briefly. Open cellular settings and confirm the Japan line is on. Set it as the mobile-data line. Many travel eSIMs need data roaming enabled on that travel line because they register through partner networks; follow the provider instruction and make sure the toggle belongs to the Japan profile, not the home line.
Turn off cellular data switching if the phone could fall back to the home SIM. Keeping the home line on can help with SMS, but it can also expose voice, voicemail, and data-fallback charges. If certainty matters more than receiving the home number, disable the home line after confirming the travel eSIM works.
Test a lightweight webpage, then open the map route from the airport to the first accommodation. Do this before leaving the terminal Wi-Fi area. A successful test is more useful than watching the signal icon alone.
Daily settings for maps, trains, and translation
Download offline map areas and the Japanese language pack for your translation app before departure. They do not replace data, but they create a fallback. Save rail reservations and hotel addresses as screenshots. Disable automatic photo backup if the allowance is limited, and set app updates to Wi-Fi only.
Japan’s stations can be complex. A working map is valuable, but so is knowing the exact railway operator and station exit. Connection does not remove the need to read the route carefully. For long rail days, carry a power bank; battery failure is a more common practical threat than the eSIM profile itself.
For dual-SIM use, review which line handles calls and messages. Messaging apps tied to the home number normally continue to work over data, while traditional SMS and carrier calls follow the home line’s terms. A data-only travel eSIM does not create a Japanese phone number unless the product explicitly says so.
Troubleshooting in the right order
When the line does not connect, change one variable at a time:
- Confirm the Japan eSIM is switched on.
- Confirm it is selected for mobile data.
- Confirm data roaming on that line matches the provider instruction.
- Turn airplane mode on for about 20 seconds, then off.
- Restart the phone once.
- Check or select an allowed network only if the provider instructs you to.
- Review the APN guidance, then contact support with screenshots.
Avoid resetting all network settings early, because that can remove saved Wi-Fi and complicate diagnosis. Avoid deleting the eSIM. Report the device model, current location, signal indicator, and steps already attempted; those details make support faster.
Common first-trip mistakes
- Buying before checking carrier-unlocked status.
- Scanning on weak public Wi-Fi and leaving before installation completes.
- Using vague labels such as “Secondary” across several trips.
- Assuming data roaming must always be off, even when the travel-plan instructions require it.
- Leaving cellular-data switching enabled and accidentally using the home line.
- Deleting the profile during a temporary registration delay.
- Expecting a data-only plan to include a local voice number.
The step-by-step installation guide covers the preparation workflow in more detail. If you are still choosing a product structure, the Japan provider comparison separates fixed-data, unlimited-style, and support considerations.
Departure and reuse
At the end of the trip, confirm whether the plan is finished or reusable. Switch mobile data back to the home line only when the home carrier’s normal service context is appropriate. A used, expired travel profile can be removed later, but keep the order details until any support or refund question is closed.
The best first-trip setup is intentionally boring: verified device, correctly timed installation, clear line labels, offline recovery information, and one successful map test before leaving the airport.